

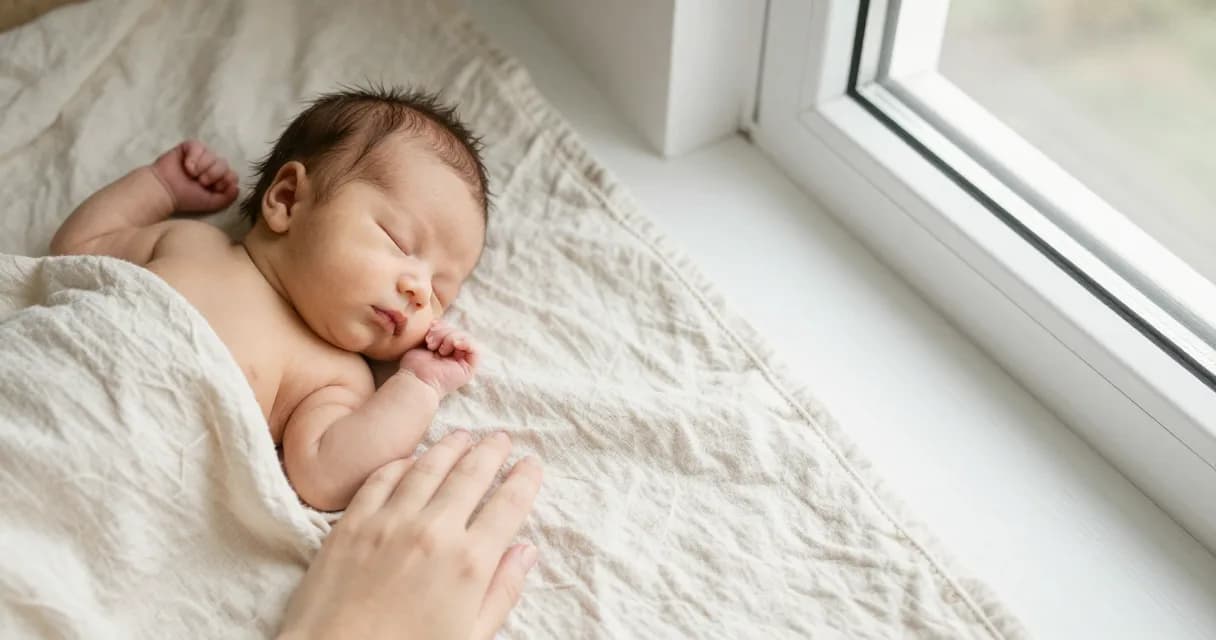
A newborn photoshoot at home needs three things: soft daylight from a big window, a warm room, and a baby who is fed and sleepy. Shoot in short bursts of 15–20 minutes, keep poses simple and safe, and let the light do the work. You can get beautiful photos with just a phone.
A newborn photoshoot at home is one of the most rewarding projects of the first weeks, and one of the easiest to overthink. You do not need a studio, a backdrop stand or a camera bag. You need a window, a blanket and a little planning around your baby's rhythm.
This guide walks you through the whole afternoon: when to schedule it, how to set up the room, which poses are safe for parents to try, and how to get sharp, warm photos on your phone.
When to Plan Your Newborn Photoshoot at Home
The classic window for newborn photos is the first 5–14 days. During that time most babies sleep deeply, tolerate being moved, and still curl into the compact shapes people love in newborn portraits.
That said, there is no deadline. If you are recovering, juggling visitors, or simply not ready, a session at three to six weeks is just as worthwhile. The photos will look different: more alert eyes, more expressions, fewer sleepy curls.
Pick a time of day based on two things:
- Light: late morning or early afternoon usually gives bright but soft light through a window that is not in direct sun.
- Rhythm: start right after a feed. A full, warm, sleepy baby is the single biggest factor in a calm session.
Set Up Your Space: Light, Warmth and a Simple Backdrop
Choose the room with your largest window. You want daylight that is bright but indirect. If the sun is shining straight in, hang a thin white curtain or sheer to diffuse it.
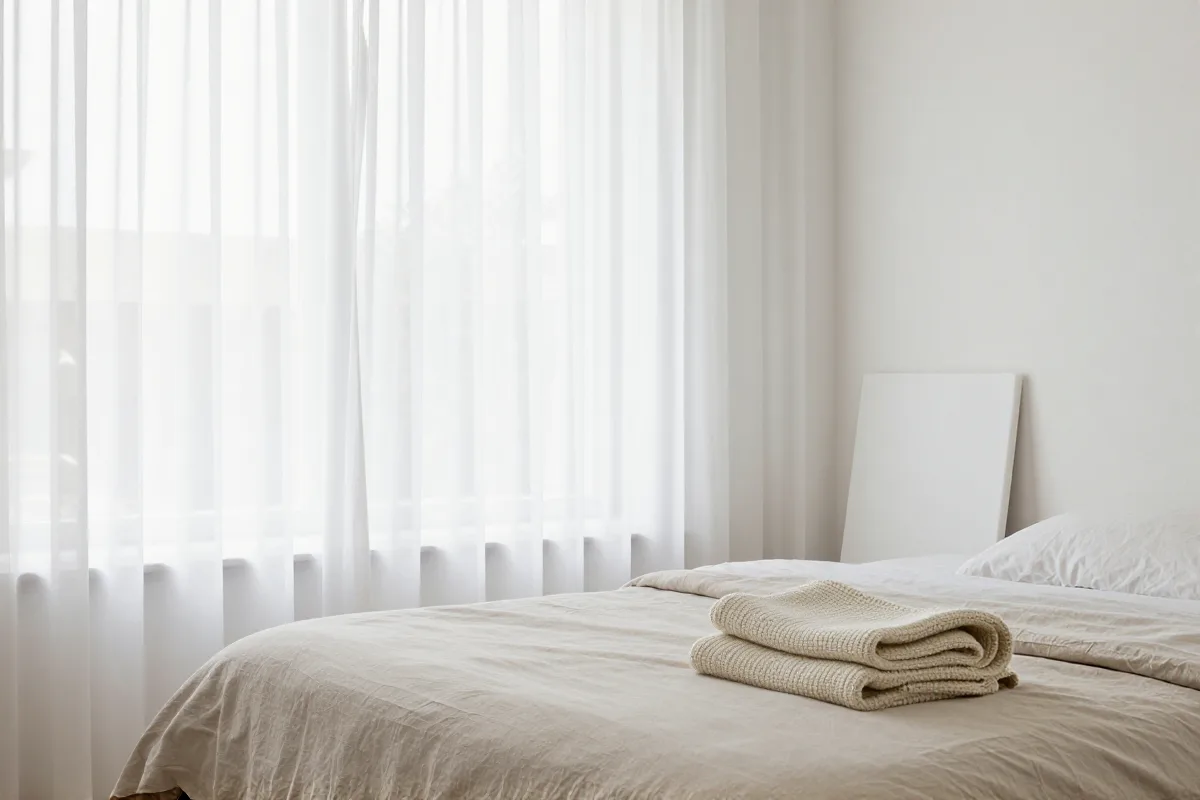
A simple setup that works almost anywhere:
- Bed or sofa near the window, with baby positioned so the light falls across them from the side, not straight on.
- One plain blanket in a neutral color (cream, oat, soft gray or white) pulled smooth over the surface. Wrinkles show up more in photos than in person.
- A reflector on the side opposite the window. A white foam board, a white pillowcase over a book, or a white sheet over a chair all bounce light back and soften shadows.
- Turn off overhead lights. Mixing warm bulbs with daylight gives skin an odd color cast.
Then warm the room. Newborns lose heat quickly, and a baby who is lightly dressed or wrapped needs a room that feels warm to you, roughly 75–78°F (24–26°C). A space heater kept well away from the baby, or simply closing the door for half an hour beforehand, usually does it.
Never leave your baby unattended on a bed or sofa, even for a second. Keep one adult within arm's reach at all times, keep heaters and cords away from the shooting area, and stop the moment your baby seems uncomfortable.
Safe, Simple Newborn Poses for Parents
Professional newborn photographers train for years, and many of the dramatic poses you see online (a baby resting their chin on their hands, or hanging in a sling from a branch) are composites: built from several photos taken with a spotter holding the baby, then edited together. Do not try to recreate them at home.
These poses look lovely and are easy to do safely:
- Back-lying on the blanket: the most natural position. Shoot from directly above or from the side at baby's level.
- Swaddled: wrap your baby snugly in a soft knit or muslin wrap. Swaddling calms many newborns and keeps hands tidy.
- Side-lying: baby on their side facing the window, with an adult hand just out of frame. Beautiful for profile shots.
- In a parent's arms: cradle shots, baby on a parent's chest, or a close-up of tiny feet in a parent's palms.
- Details: fingers, toes, lashes, hair whorls and the tiny folds of the ears. These are often the photos parents treasure most.
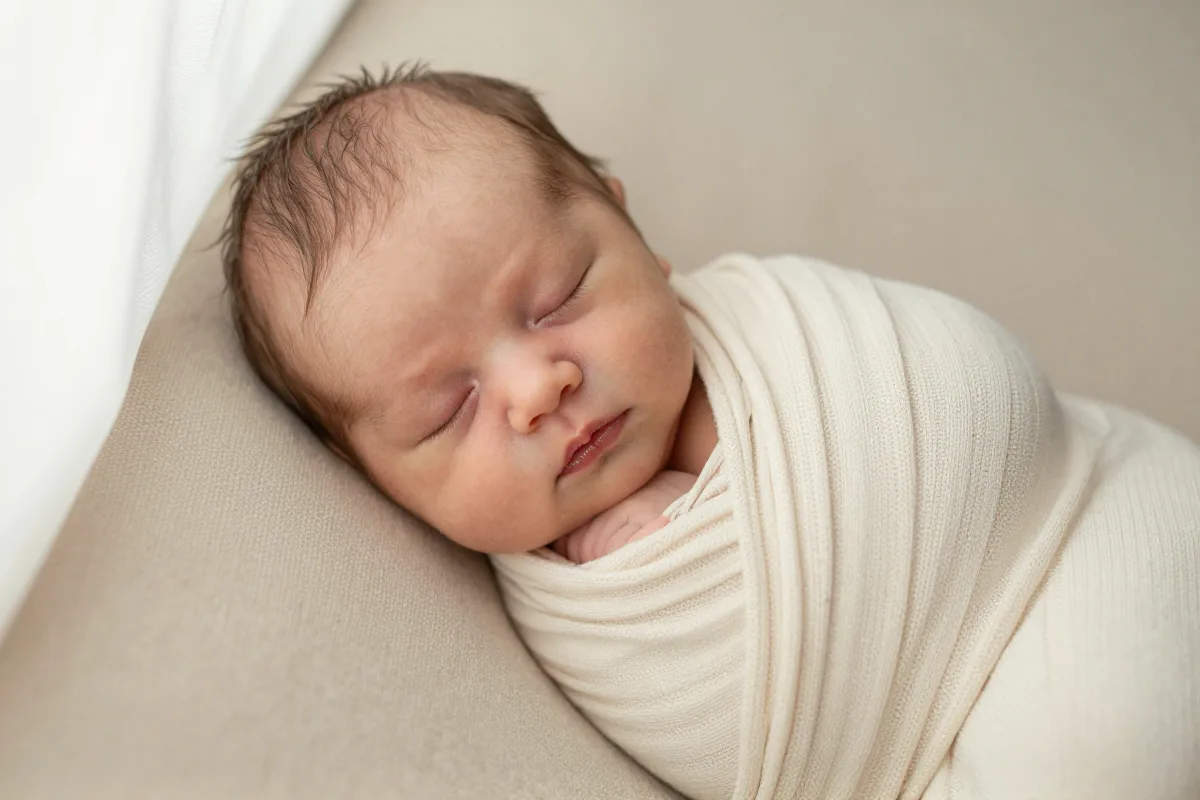
Keep each pose change slow and gentle. If your baby wakes or fusses, pause, soothe or feed, and come back later. Our guide on why babies cry during photoshoots has more calming ideas.
Phone Camera Settings That Make a Difference
Modern phones handle newborn photos very well if you help them a little:
| Setting | What to do | Why it helps |
|---|---|---|
| Flash | Turn it off | Flash is harsh on newborn skin and can startle your baby. |
| Lens | Use the 1x or 2x lens, not ultra-wide | Ultra-wide lenses distort small faces and limbs. |
| Focus | Tap on the eyes or face, then hold to lock | Keeps the important part sharp while you reframe. |
| Exposure | Slide brightness down slightly | Prevents white blankets and skin from blowing out. |
| Burst or Live Photos | Turn on | Newborns move in tiny ways; more frames means more keepers. |
| Gridlines | Turn on | Helps you keep the blanket edges straight. |
Hold the phone parallel to the surface for overhead shots, and get down to your baby's eye level for side shots. For a deeper dive into exposure and editing, see our iPhone baby photo guide and our post on phone lighting settings for baby photos.
A Calm Timeline for the Session
Plan for two to three hours in total, with only a fraction of it spent actually taking photos:
- 30 minutes before: warm the room, set up the blanket and reflector, and charge your phone.
- Feed your baby and burp well.
- First 15–20 minutes: swaddled and back-lying shots while baby is in deep sleep.
- Break: cuddle, change, or feed again if needed.
- Second 15–20 minutes: side-lying, details, and photos with parents and siblings.
- Wrap up while everyone is still happy. You can always do a second short session another day.
Turning Home Photos into Studio-Style Portraits
Even with great window light, home photos look like home photos, and that is part of their charm. If you also want polished, studio-style portraits (themed setups, soft backdrops, professional color), you do not need to book a studio visit with a two-week-old.
With Baby AI Photoshoot, you upload a few clear, well-lit photos of your baby and get studio-style portraits in about two minutes each, with plans from $14.90. The photos you take in this session, especially the ones with even light on the face, make the best starting point.
Turn everyday photos into studio portraits
Upload a few phone photos and get milestone portraits in minutes.
Create your photoshootWrapping Up
A newborn photoshoot at home comes down to timing and light more than gear. Feed first, keep the room warm, shoot near a big window in short sessions, and choose simple poses that keep your baby safe and comfortable. The best photos usually happen in the quiet moments between the plans, so keep your phone close for the rest of those first weeks too.