
To do a DIY 1st birthday photoshoot at home, set up an ironed seamless bedsheet backdrop taped to the wall near a bright daylight window, create a 3-color balloon garland, schedule the shoot 30–45 minutes after the morning nap, and use your phone's Portrait Mode (ƒ/2.8) with Burst Mode enabled. For cake smashes, place a wipeable plastic liner beneath the backdrop.
Your baby turning one is one of the most emotional and joyous milestones of parenthood. You want heirloom-quality portraits to celebrate this moment forever — but booking a traditional photography studio often costs $400 to $800, requires traveling with a carload of baby gear, and risks your baby having a photoshoot crying meltdown in an unfamiliar environment.
The good news? You can create a beautiful DIY 1st birthday photoshoot right in your living room.
In this comprehensive step-by-step guide, we will walk you through backdrop setup, lighting secrets, props, timing, phone camera settings, and a 2-minute alternative for busy parents.
1. Choose Your 1st Birthday Theme
A cohesive theme ties your colors, props, and outfit together. Here are four timeless DIY themes that photograph wonderfully at home:
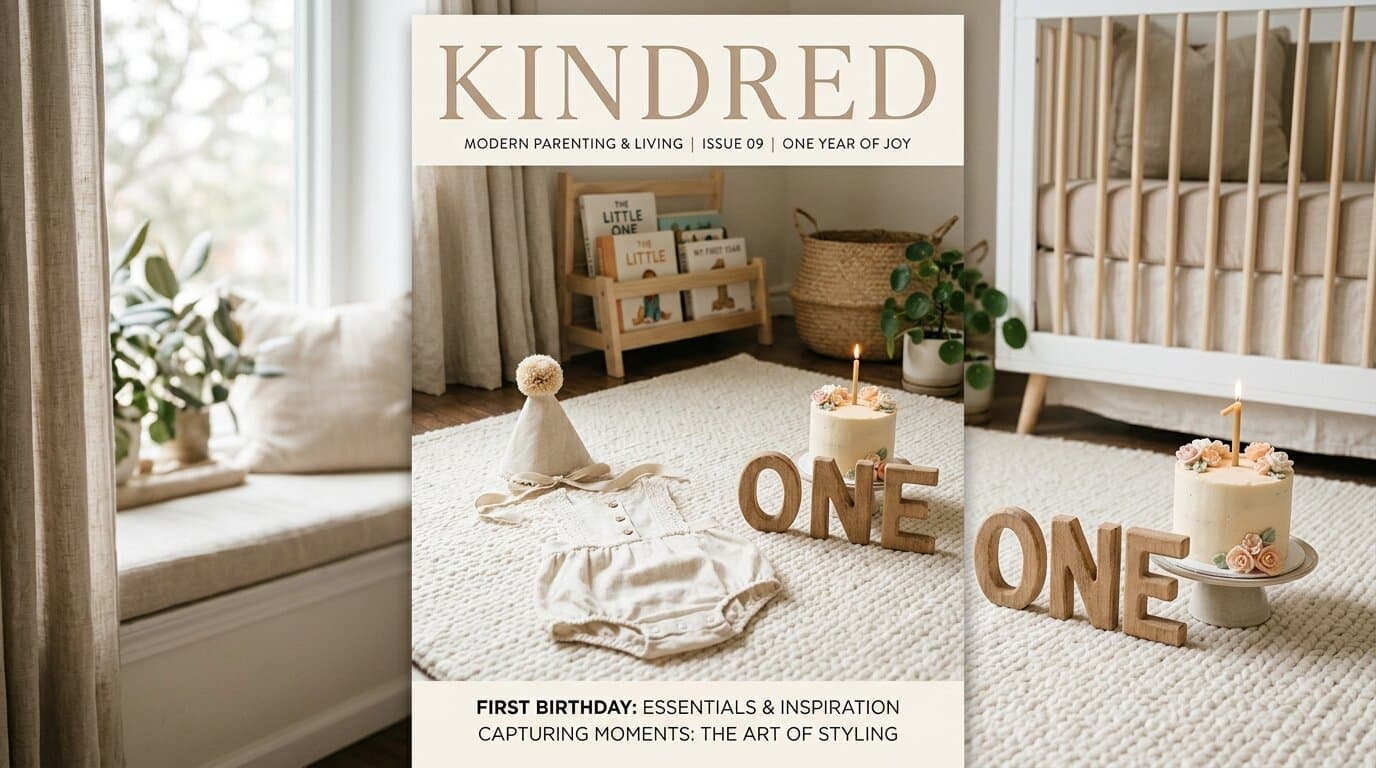
- Boho Neutral / Minimalist Warmth: Beige, sage green, cream knitted rompers, pampas grass, wooden number "1", and wicker baskets. (See our Boho 1st Birthday AI Template).
- Safari Jungle Adventure: Monstera leaves, cute lion/elephant plushies, khaki suspenders, and rustic wooden crates.
- Pastel Floral & Butterfly / Fairy Tale: Soft blush pinks, faux florals, delicate fairy lights, and pastel tulle.
- Classic Cake Smash: A simple balloon arch, festive bunting garland, and a mini 4-inch smash cake.
2. Setting Up Your DIY Home Studio
You don't need a dedicated photography room — a 6x6 foot clear space near your brightest window is plenty.
The Backdrop Setup
- The Bed Sheet Hack: Iron a seamless white, beige, or soft pastel flat bed sheet. Tape it high on the wall with painter's tape and let it curve gently down onto the floor (the infinity curve trick) so there is no harsh line between wall and floor.
- Balloon Garland: Purchase an inexpensive $15 balloon garland kit from Amazon. Use a handheld balloon pump to inflate 40-50 balloons in 3 matching shades (e.g., white, peach, and gold).
- Floor Protection for Cake Smash: Place a transparent shower curtain liner underneath your backdrop sheet to protect your carpets or hardwood flooring from buttercream.
DIY Budget Breakdown Table
| Item Needed | Estimated DIY Cost | Prep / Cleanup Time |
|---|---|---|
| Balloon Garland & Hand Pump | $18 - $30 | 1.5 Hours |
| Backdrop Stand & Sheet / Paper | $40 - $75 | 45 Minutes |
| Themed 1st Birthday Outfit | $25 - $50 | Shopping / Steaming |
| Smash Cake (Bakery or DIY) | $25 - $60 | Baking / Buying |
| Props (Wooden crate, "ONE" letters) | $30 - $60 | Ordering & Assembling |
| Total Investment | $138 - $275+ | 4 - 5.5 Hours |
3. Lighting Secrets: How to Avoid Blurry or Dark Baby Photos
Baby photography requires fast shutter speeds because one-year-olds move unpredictably. Bad indoor lighting causes blurry photos and grainy noise.
- Use Diffused Window Light: Place your baby at a 45-degree angle to a large window. Never shoot directly into the window (which turns your baby into a dark silhouette). Read our full baby photo phone lighting guide for diagrammed setups.
- Turn Off Harsh Yellow Overhead Bulbs: Ceiling lights create unflattering shadows under baby's eyes and nose and introduce yellow color casts. Natural window daylight is infinitely superior.
- The White Sheet Reflector Hack: If the shadow side of your baby's face looks too dark, place a large white pillow or white foam board on the opposite side of the window to bounce soft light back onto their cheeks.
4. The 45-Minute Golden Timing Strategy
The biggest secret professional baby photographers know is that baby temperament dictates everything.
- The Sweet Spot: 30 to 45 minutes after their first morning nap, right after a milk feed or light snack.
- Keep Room Warm (72°F - 75°F / 23°C): If your baby is wearing a sleeveless romper or doing a shirtless cake smash, a chilly room will guarantee fussiness.
- Have a 'Noisemaker Assistant': One parent operates the camera while the other stands directly behind the camera making funny sounds or holding their favorite musical toy. This gets the baby looking right down the camera lens with genuine smiles.
5. Phone Camera Settings for Crisp Baby Photos
You do not need an expensive $2,000 DSLR. An iPhone or modern Android phone produces breathtaking portraits when configured properly:
- Switch to Portrait Mode: Tap your baby's eyes on screen to lock focus. On iPhone, adjust the depth aperture slider (ƒ) to ƒ/2.8 or ƒ/3.2 for a dreamy blurred background while keeping their entire face sharp. Check our iPhone baby photo settings formula for exact post-processing values.
- Enable Burst Mode: When your baby claps, laughs, or smashes the cake, hold the shutter button down (or swipe left on iPhone) to capture 10 frames per second. You will always catch that split-second perfect grin.
- Shoot at Baby's Eye Level: Get down onto your stomach. Shooting from adult standing height makes baby look small and distorts body proportions. Eye level creates an intimate, professional studio feel.
6. If You Don't Want to Deal With the Hassle...
Setting up balloon arches, spending $200+ on one-time props, baking smash cakes, and praying your one-year-old doesn't burst into tears before you take the photo is exhausting for busy parents. When comparing the average cost of studio baby photography, studio fees range from $400 to $800+.
If you'd rather spend your weekend celebrating your baby instead of cleaning buttercream off the carpet, you can solve this in 2 minutes with AI.
With Baby AI Photoshoot:
- Take a quick photo of your baby smiling in their favorite home clothes.
- Select any of our curated 1st Birthday Studio Templates.
- Receive studio-grade cake smash, floral fairy-tale, and vintage royal portraits starting from $14.90.